The Vendor / Customer List can be used to view and configure vendor and customer information.
To add or edit a vendor/customer:
-
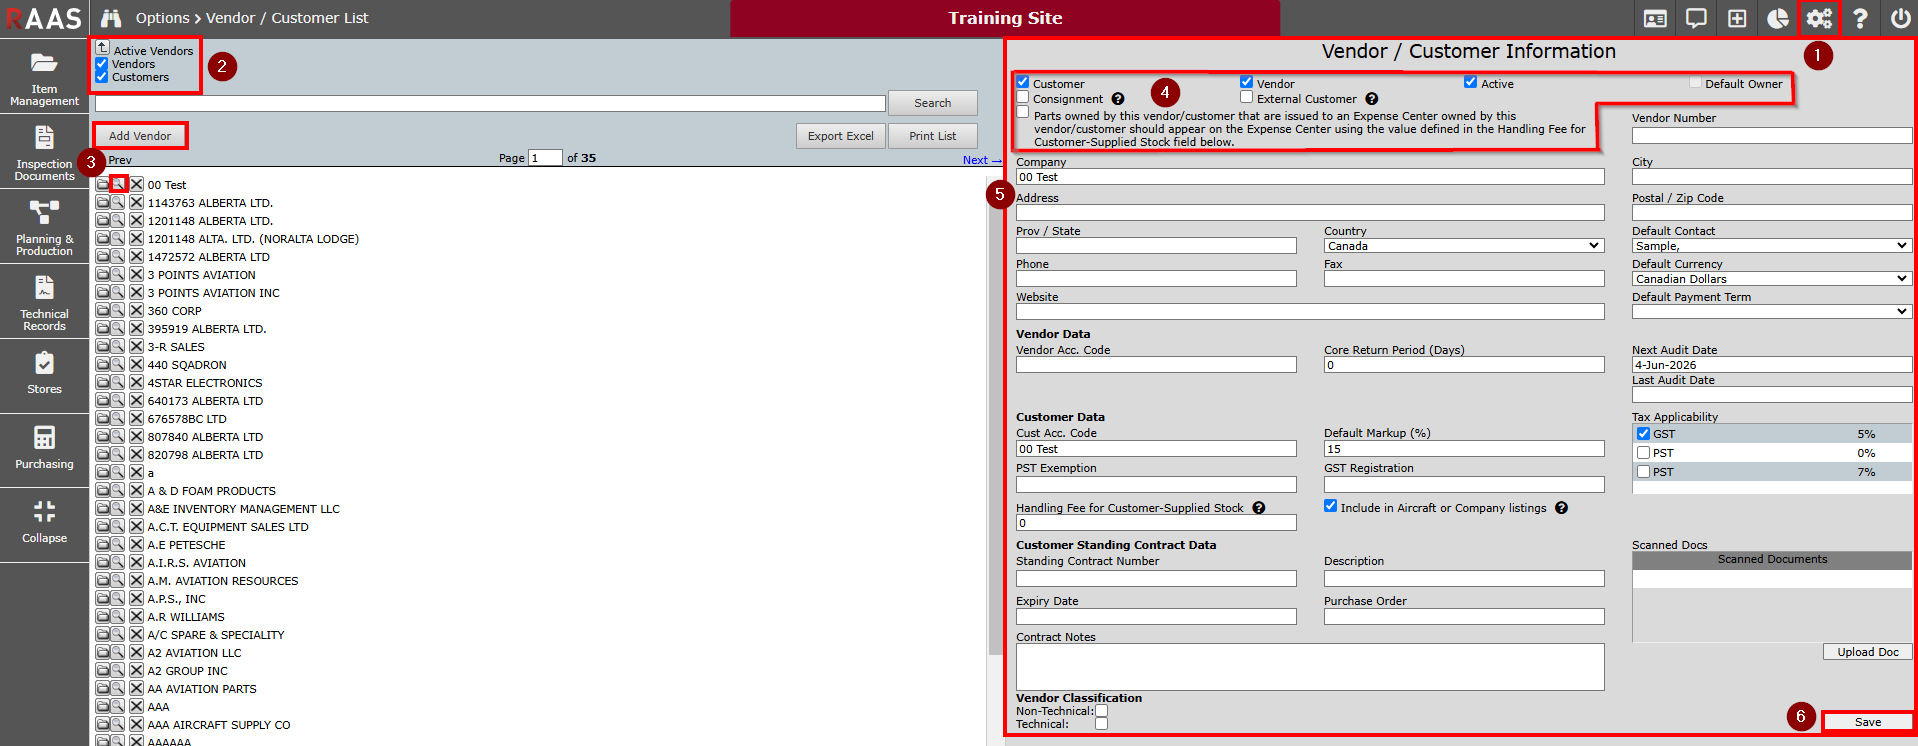
Click on the Settings menu and select Vendor / Customer List.
-
Click the arrow next to Active Vendors to switch between Active and Inactive vendors. You can also filter by vendors, customers, or both.
-
Click Add Vendor to add a new Vendor or Customer, or click the magnifying glass to the left of a Vendor/Customer to edit their details.
-
Select the applicable flags.
-
Customer and Vendor: Select these to indicate whether it is a Customer, Vendor, or both.
-
Active: Select this to make the Customer/Vendor active.
-
Default Owner: This will be selected for the default owner (your company).
-
Consignment:
-
If a vendor/customer holds stock and the customer related to the work order to which the stock is being issued is not the same as this vendor/customer, the user will be asked if the stock is being taken from consignment stock or whether the stock being taken is loaned. If the stock is being taken from consignment, the ownership will change.
-
This flag will determine the default action when stock that is owned by this vendor is being issued to an Expense Center associated to a different owner. If it is turned on, the default action will be taken from consignment stock. if it is turned off, no default action will be pre-selected.
-
-
External Customer:
-
If the External Customer check box is checked, then parts issued to expense centers associated to this customer will be placed in Dead. For example, this would be used if the expense center associated to this customer is for work on an aircraft that is not set up in the system and that you are not responsible for tracking maintenance on.
-
If the External Customer check box is not checked, then parts issued to expense centers associated to this customer will be placed in Issued for Maintenance. For example, this would be used if the expense center associated to this customer is for regular work against an aircraft you are responsible for tracking maintenance on.
-
-
-
Enter any known Company details.
-
The Default Payment Terms selected will automatically be used when an order is created for that vendor.
-
The Default Markup (%) is applied to the Expense Center Transactions that are written when parts are sent on a Sales Order or issued to an Expense Center owned by that customer.
-
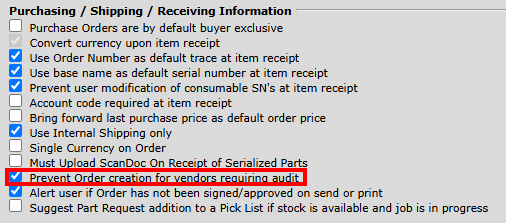
If a date is entered in the Next Audit Date and has gone overdue, based on Company Settings (see Figure 2), an Order can be prevented to be created for that Vendor.
-
To Add a New Contact:
-
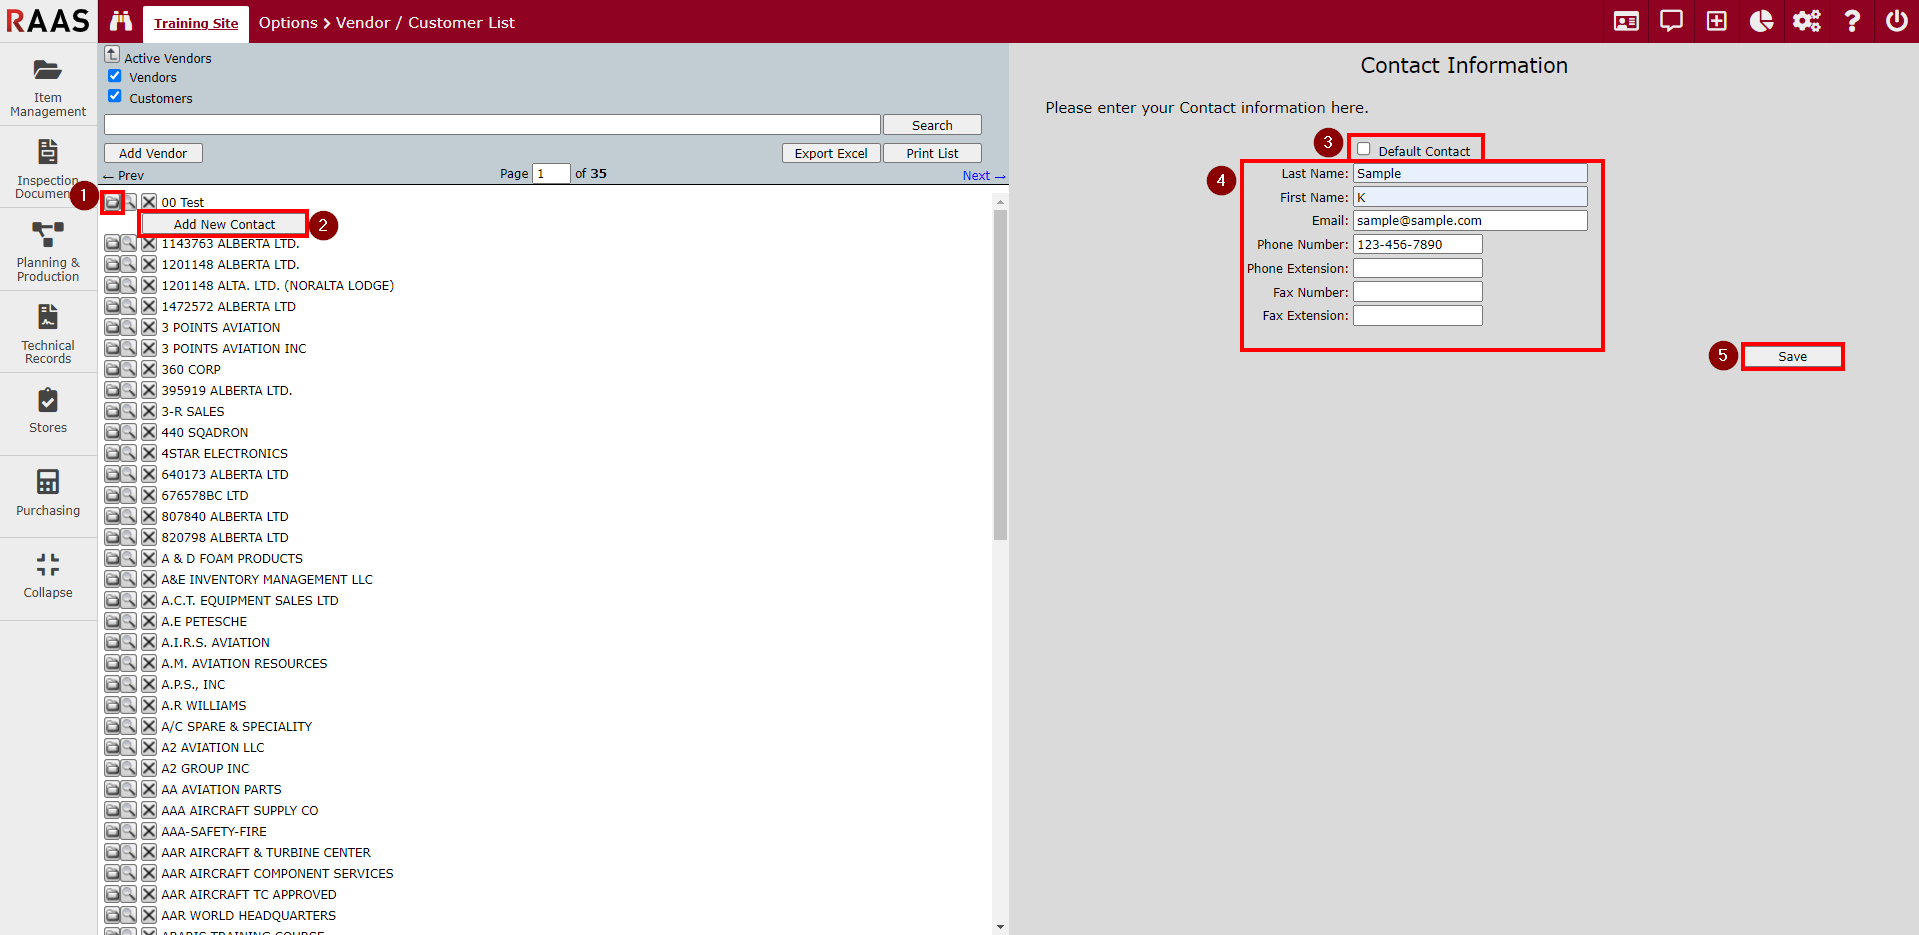
Click on the folder icon beside the vendor/customer that you would like to add a contact to or click directly on the contact name. This will also display a list of contacts that have been set up for the vendor/customer.
-
Click Add New Contact.
-
Select Default Contact if they are to be the default.
-
Fill out the contact information.
-
Click Save.
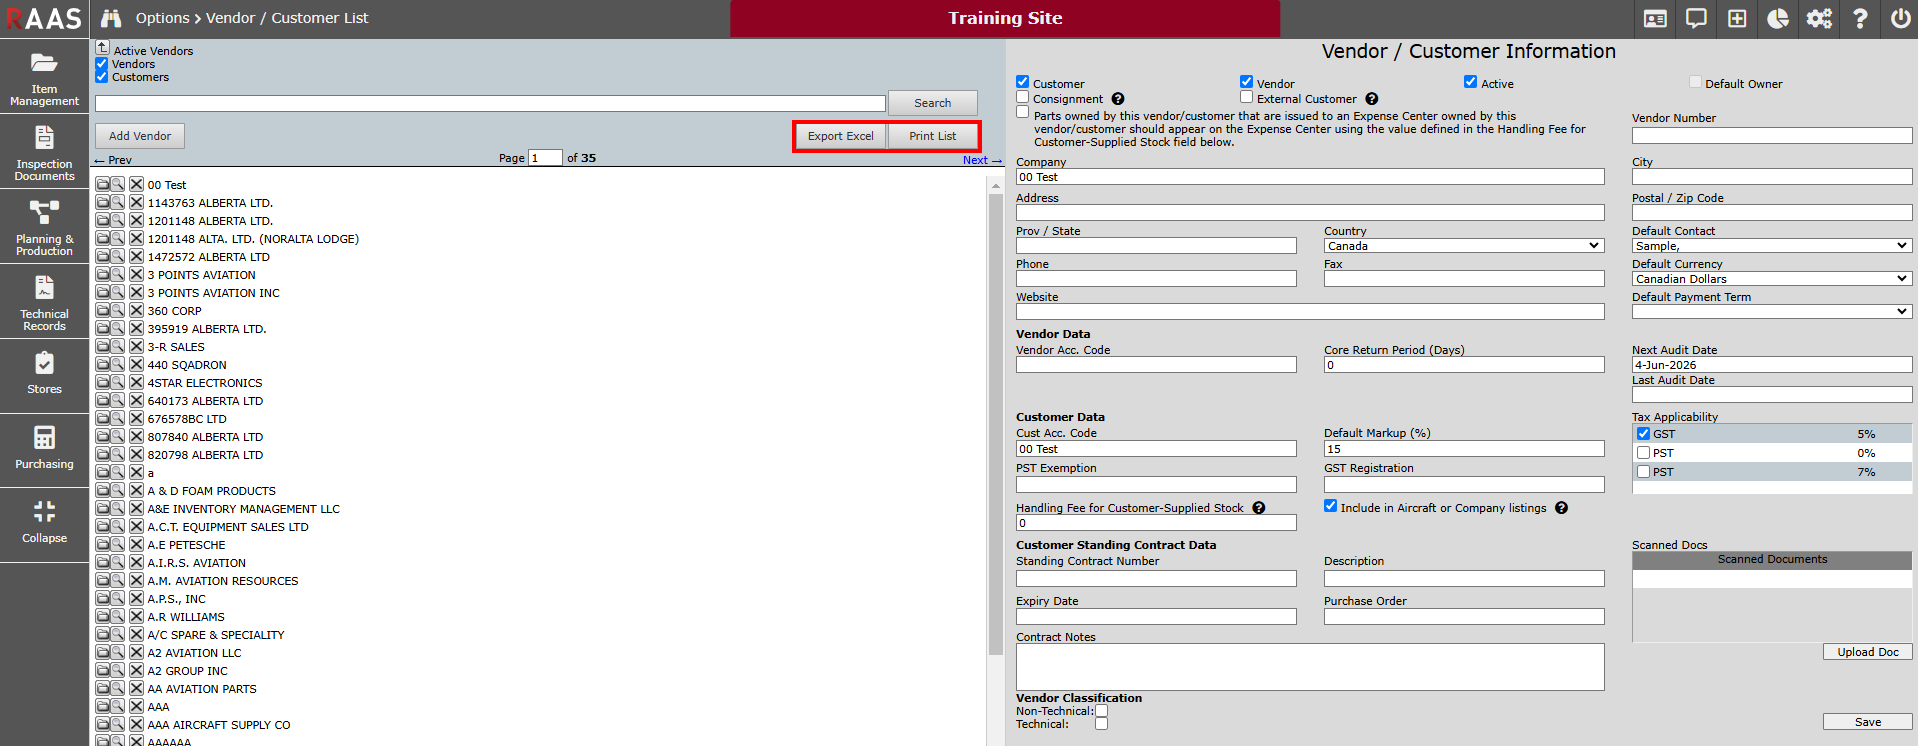
Vendor Listing Report
The Vendor Listing can either be exported to Excel (for quick filter options) or printed by clicking the Export Excel or Print List buttons.