
Adding New Users:
Note: Active User Accounts within RAAS require a corresponding Employee Information record to be created first. Please reference EMPLOYEE INFORMATION for advice on configuring an Employee Information record.
-
Click on the gears icon in the top right corner to open Settings
-
Select User Accounts.
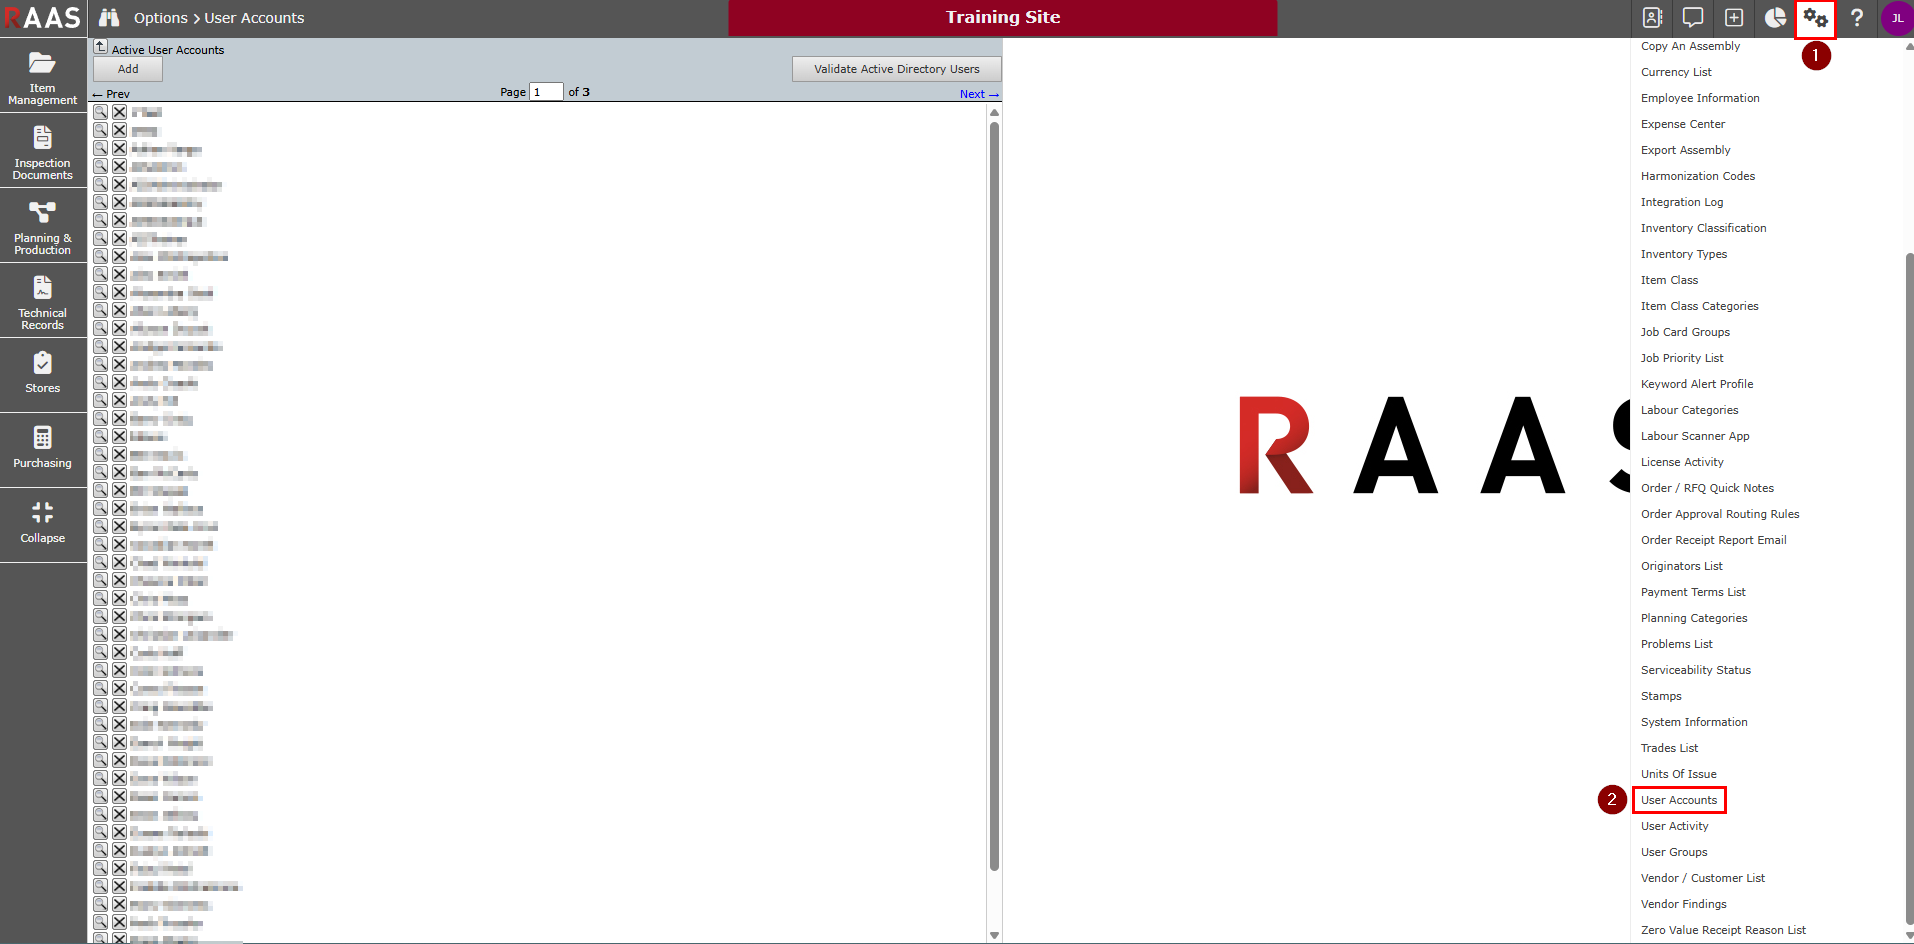
Figure 1: User Accounts -
The Active User Accounts folder is open by default. Click the Add button.
-
Enter a User Name and Password and verify the password.
-
Select an Employee Link.
-
Note: This is mandatory if the user account will be active. The user account must reference a unique, and active, Employee Information record.
-
-
Select the user's Time Zone.
-
Adjust Preferences, if desired.
-
Adjust Session Configuration Settings, if desired.
-
Use Default Session Timeout - This setting sets the default session timeout to the default value set in Company Settings. When deselected, users can change their session timeout.
-
Allow concurrent sessions - When selected, this setting will allow multiple simultaneous sessions for this user, occupying multiple licenses. If disabled, the user will only be able to have one active session.
-
Light License User - Users with this flag selected will occupy a Light license rather than a Full license. Your company must have Light licenses included in your subscription for this setting to function correctly. Light license users are limited to a maximum number of user roles, as defined by your subscription. If a Light license user belongs to a User Group that contains more roles than the allowed maximum, only the permitted number of roles (assigned alphabetically) will be applied. Any additional roles in the group will not be available to the user.
-
-
Click Save.
Note: Once a User Account has been created, it must be added to a User Group in order to have the permissions required to access functions of RAAS. See USER GROUPS for more information.
All users will have access to their own User Accounts page to periodically update their passwords and preferences.

Marking Inactive Users
To create an inactive user when RAAS access is no longer required, it is recommended that both the Employee Information and User Account records be marked as inactive. An Employee Information record can only be marked as inactive when it is not linked to an active user account. As such, the user account must be deactivated first with this process. Similarly, when reactivating user accounts, the Employee Information record must be reactivated first.