
Once the Time Update or Prior Maintenance Log has been created, maintenance entries may be required to indicate completed maintenance.
TMI Entry Wizard I
-
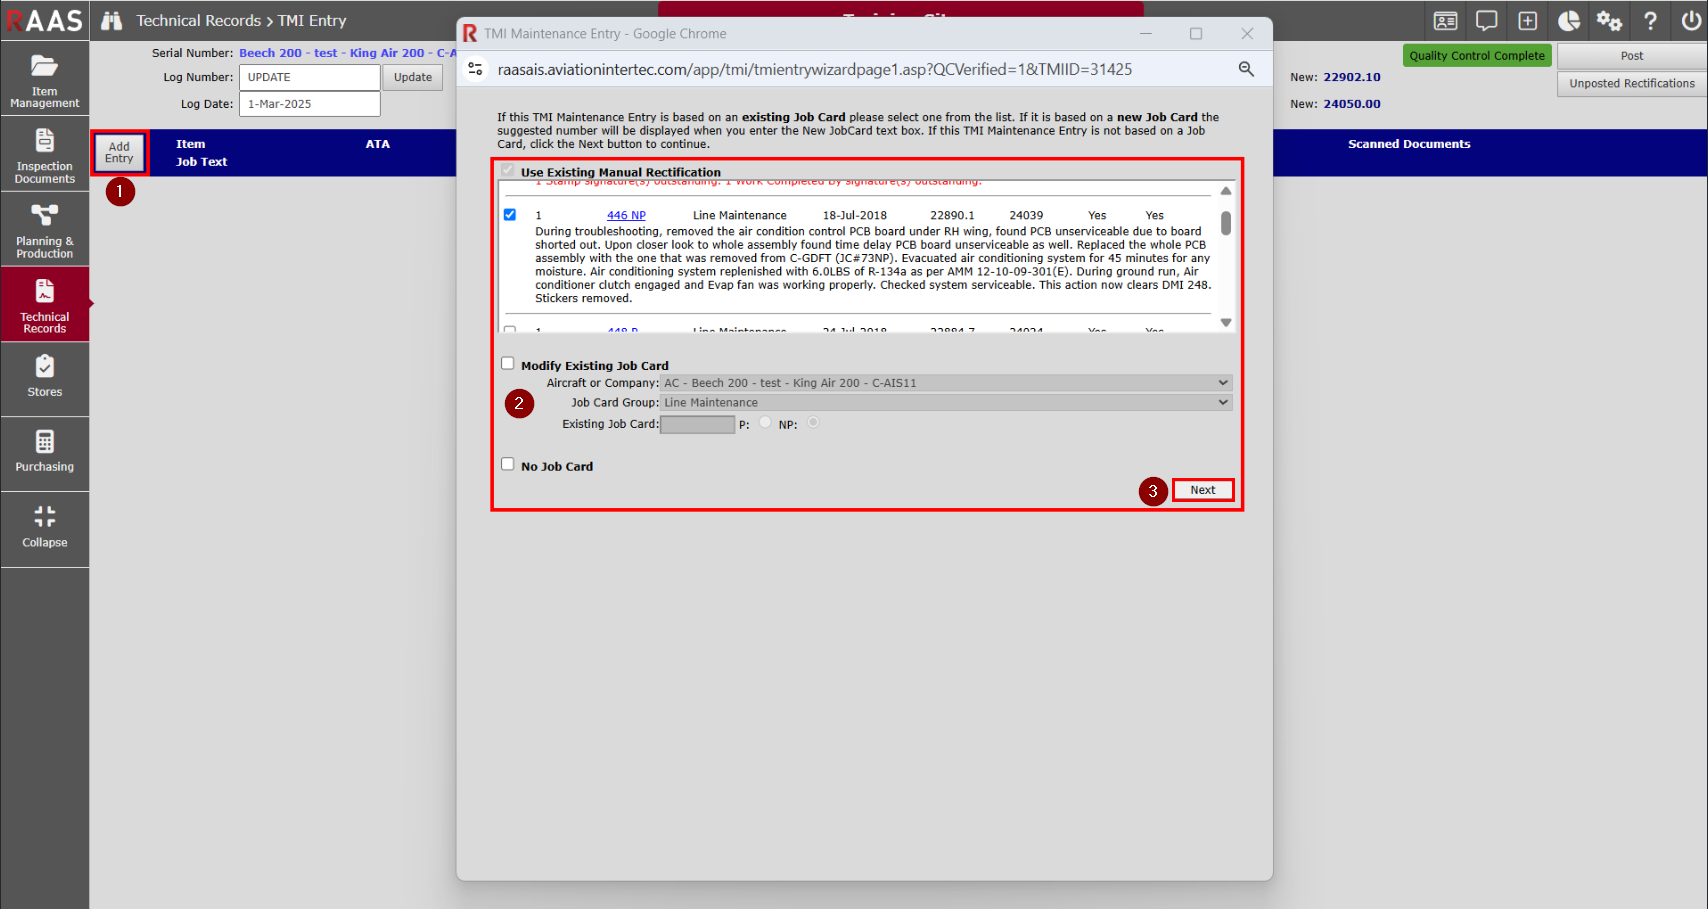
Click the Add Entry button to enter the maintenance input.
-
There are 3 options to select from:
-
If using Manual Rectifications, select the applicable Job Card from the Use Existing Manual Rectification section.
-
If updating Job Card Rectifications via Tech Records, enter the applicable Job Card number (P or NP) in the Modify Existing Job Card section.
-
If no Job Card is required, select the No Job Card option.
-
-
Click Next.
If using Option 2. a. skip to TMI Entry Wizard RESULTS (Manual Rectifications).
If using Option 2. b. or c. go to TMI Entry Wizard II.
TMI Entry Wizard II
Make changes to the data as required for each step of the TMI Entry Wizard.
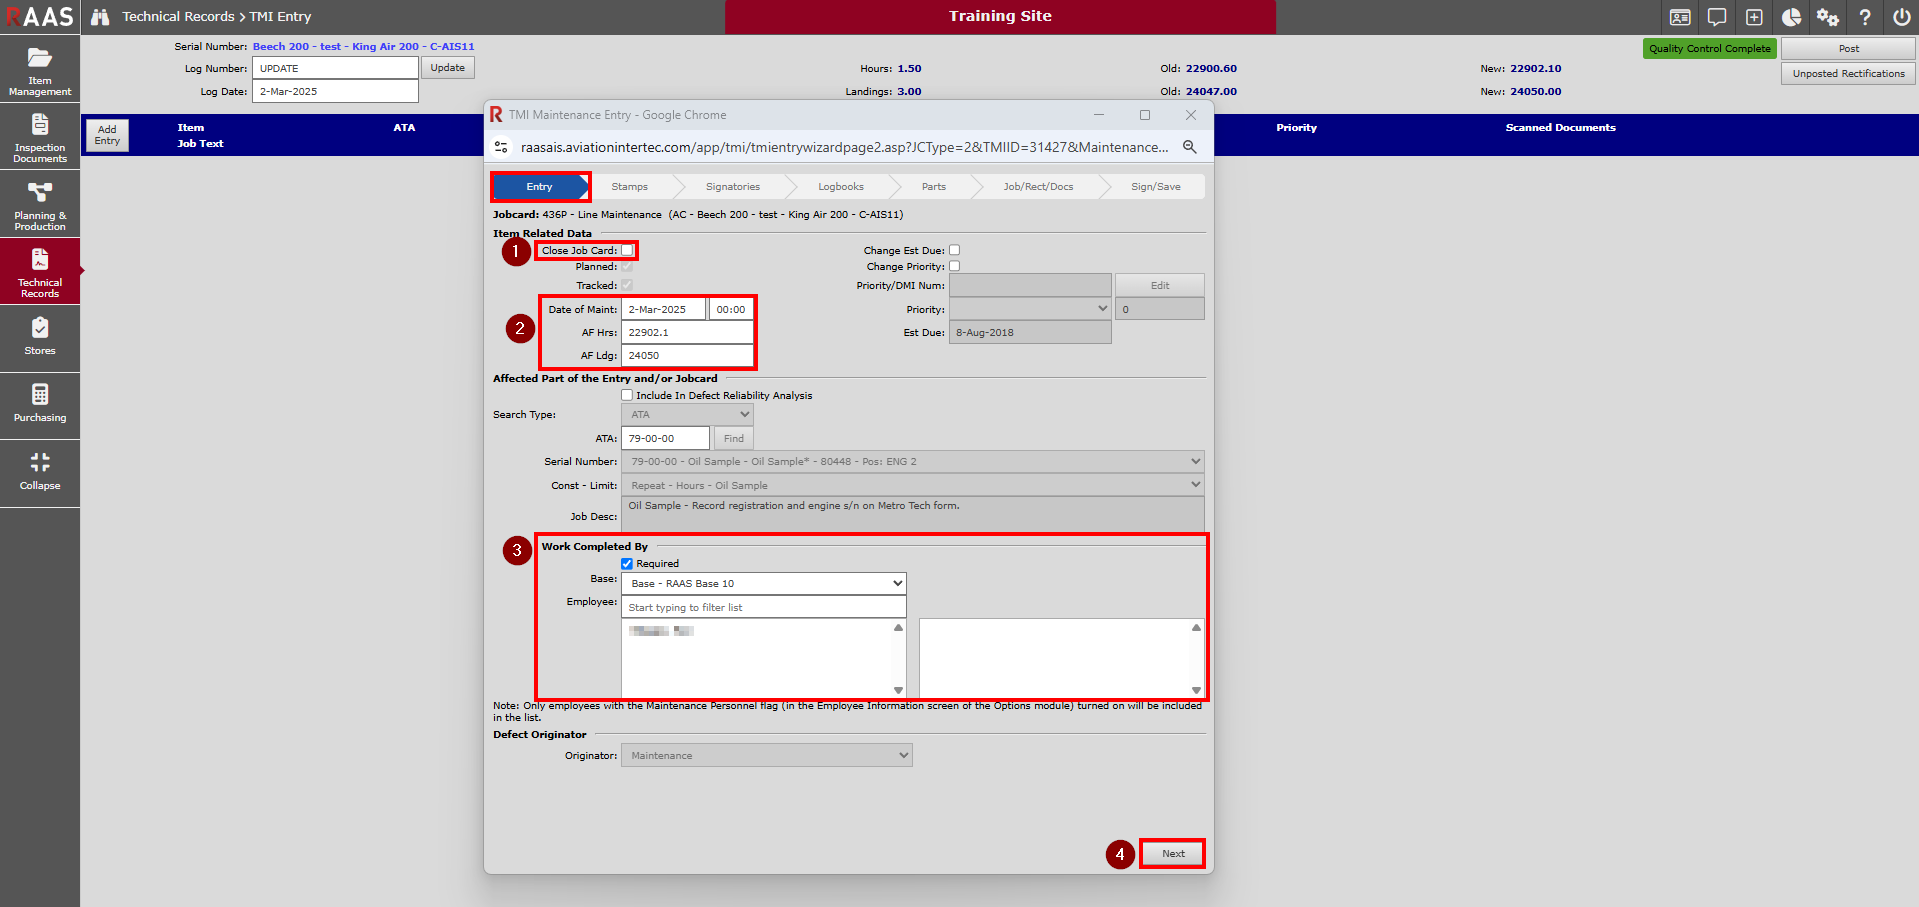
Entry
-
Select Close Job Card to make a closure rectification, or leave flag off to keep the Job Card Open.
-
Date of Maint, AF Hrs and AF Ldgs will be populated from the TMI Entry header information.
-
Select the name(s) of who completed the work.
-
Depending on your Company Settings, this flag can be removed if not required.
-
-
Click Next.
Stamps
-
Select a stamp or stamps that are required for this maintenance entry.
-
Click Next.
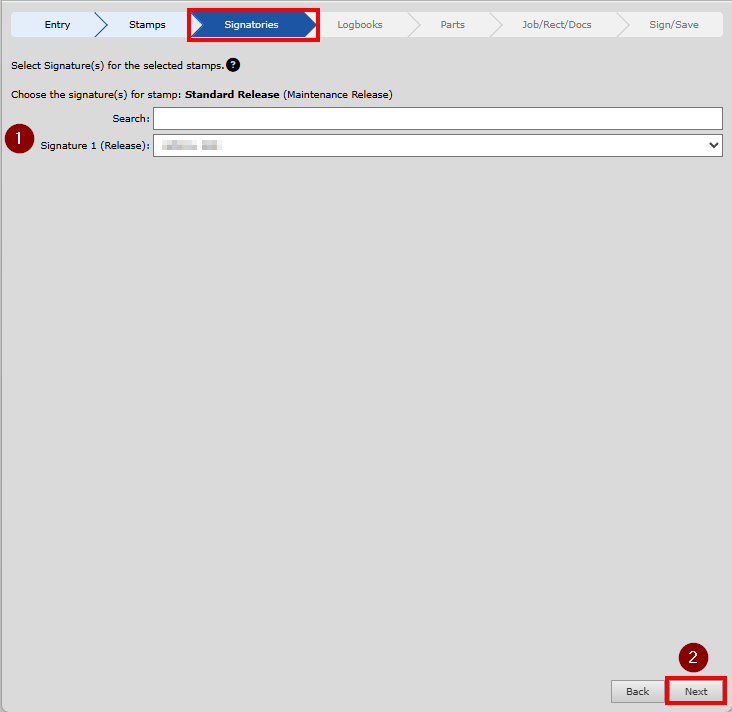
Signatories
-
Select the signatures for each stamp selected from the previous screen. Click Next.
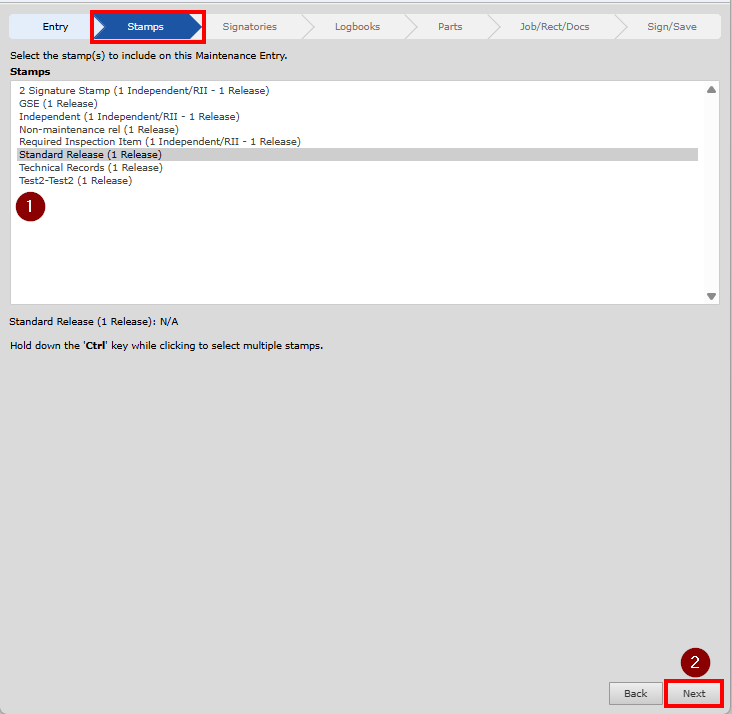
The Stamps list is an entry based sub-module located in the Options module. Stamps can also be set as required stamp defaults in Job Card Templates.
Logbooks
-
A default list of parts that require a Technical Log and Modification Log are displayed. Select the parts that will be affected by this TMI entry. Entries are generated automatically in the logbooks of the parts selected.
-
Click Next.
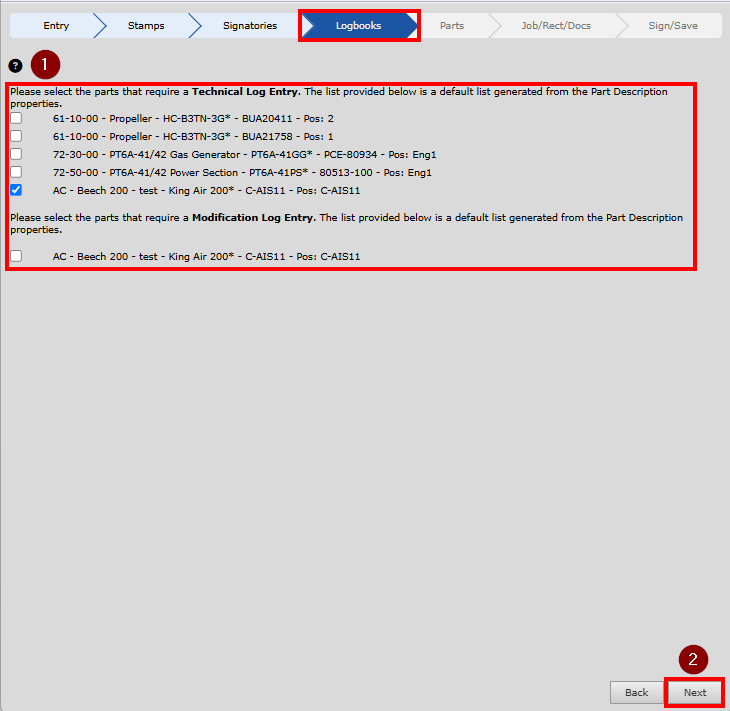
The logbook selections are based on Part Description properties specified at the time of part creation. See ITEM EDITOR - CREATING A PART - Step 3 of Creating a Part Description.
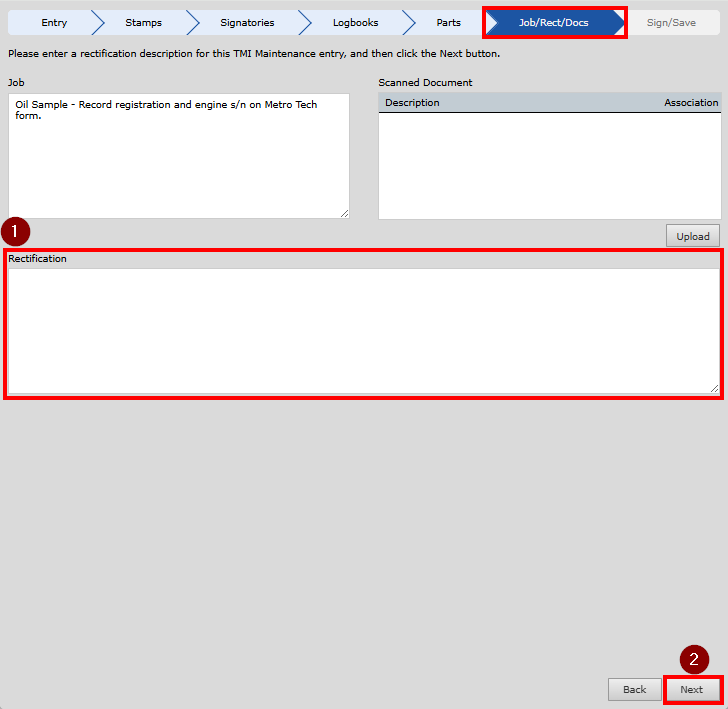
Job/Rect/Docs
If an Existing Job Card was selected:
-
Enter the Rectification.
-
Click Next.
Scanned Documents can also be uploaded to the Job Card.
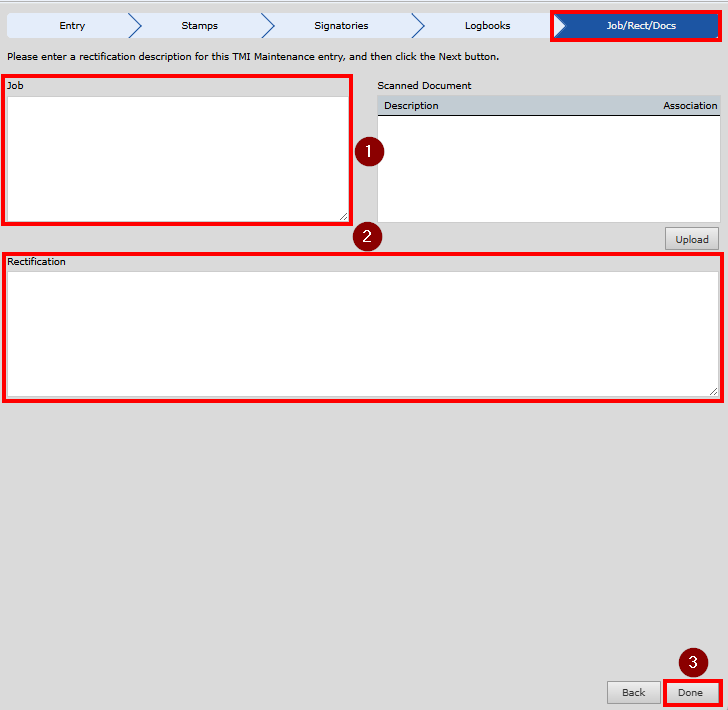
If no Job Card was selected:
-
Enter a Job description.
-
Enter the Rectification.
-
Click Done.
Scanned Documents can also be uploaded to the Job Card.
TMI Entry Wizard Results (Manual Rectifications)
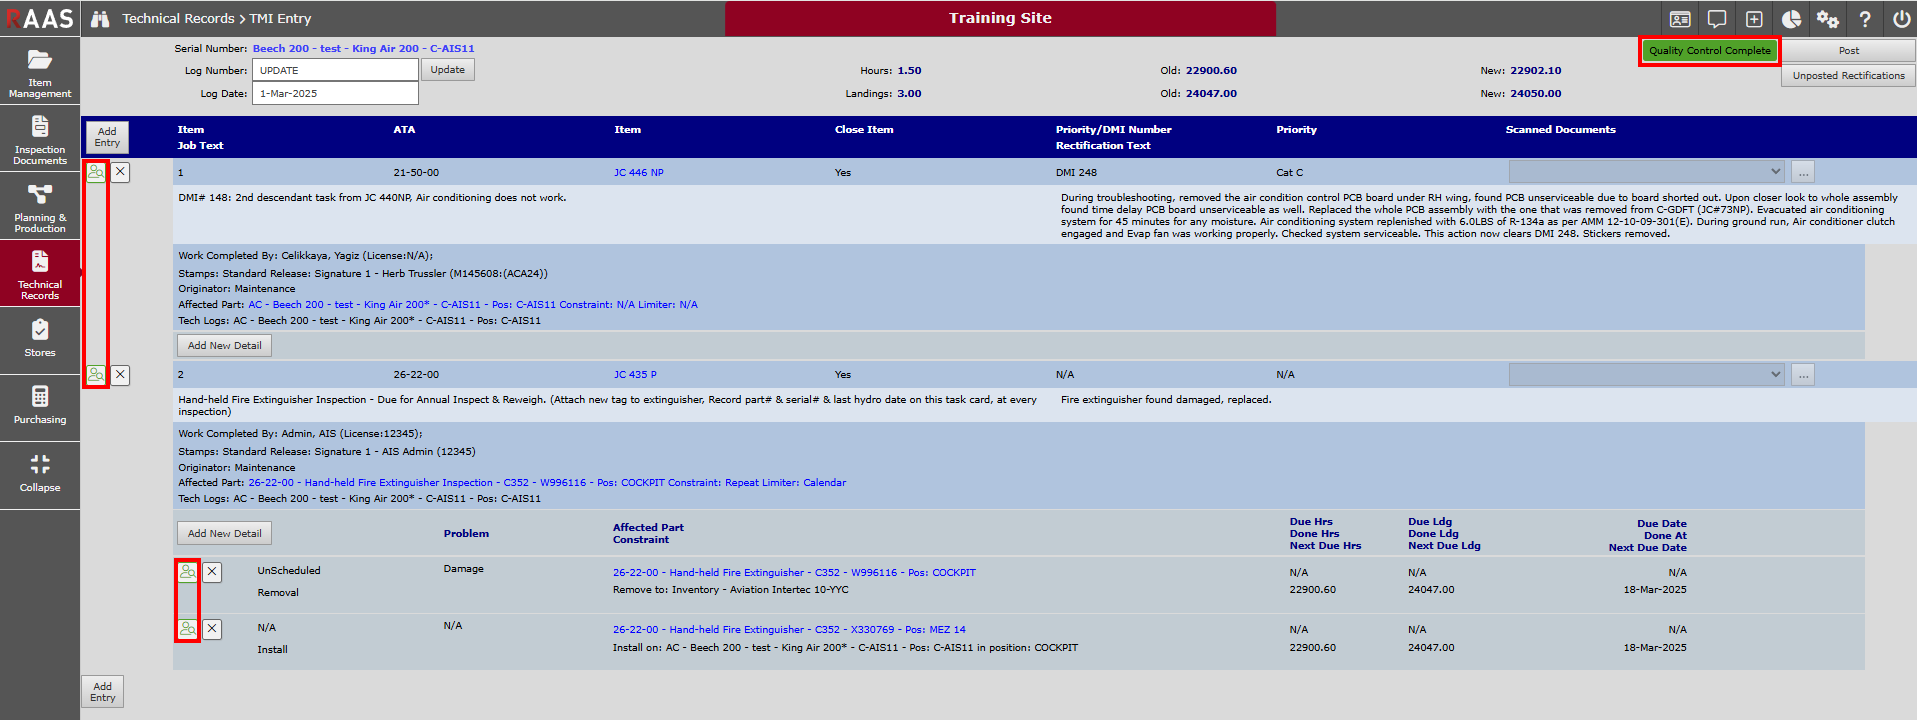
Once all information has been entered, the resulting TMI Maintenance Entry will appear on the TMI Entry page.
For manual rectifications added to a TMI Log, these entries require QC Verification (see Note). This includes any installation or removal details associated to the manual rectification.
The Quality Control box will say Pending and be red as well as the View QC Verification icons.
QC Verification is applied by selecting the View QC icon adjacent to the entry or detail and completing the associated wizards.
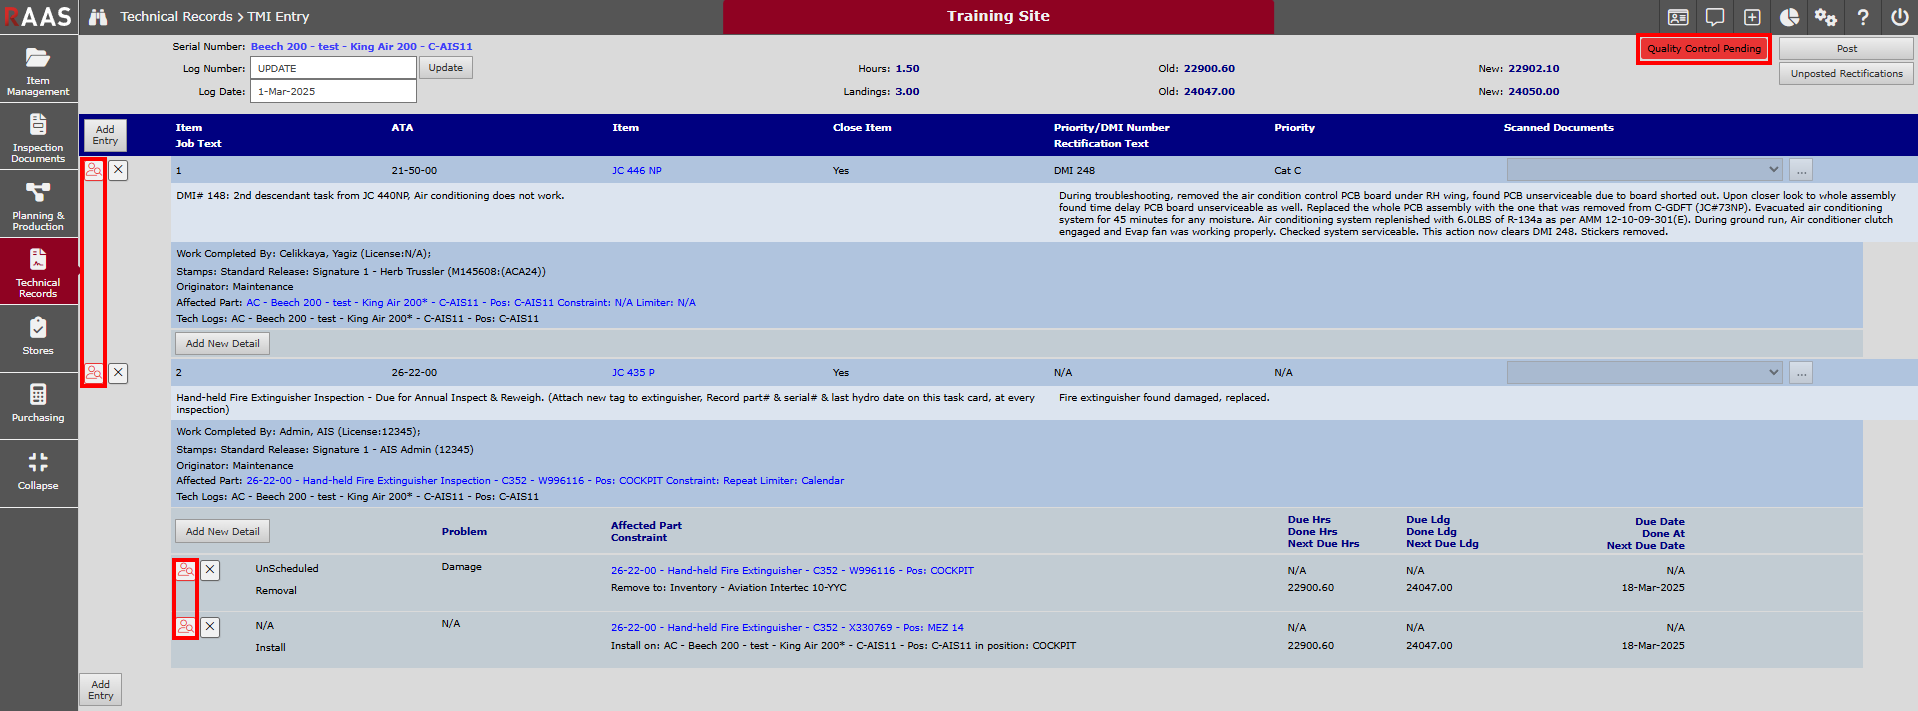
Once completed, the Quality Control box will say Complete and turn green as well as the View QC Verification icons.
Tech Records must pay attention to any Maintenance that may require further details (ie. Comply/Reset). If required, the next step will be to add Maintenance Details, which will appear below the TMI Maintenance Entry.
Note:
QC Verification
All Technical Record Logs must be fully QC Verified to become eligible to post. A Log will become fully QC Verified once all entries and details associated to that log have been verified. Verification for any entry or detail is completed by reviewing the entry or detail and fully completing the associated wizard.
TMI Entry Wizard RESULTS (Modify Existing Job Card or No Job Card Entries)
Once all information has been entered, the resulting TMI Maintenance Entry will appear on the TMI Entry page.
QC Verification is automatically applied, the Quality Control box will say Complete and be green as well as the View QC Verification icons.
Tech Records must pay attention to any Maintenance that may require further details (ie. Comply/Reset, Part Removal/Install).
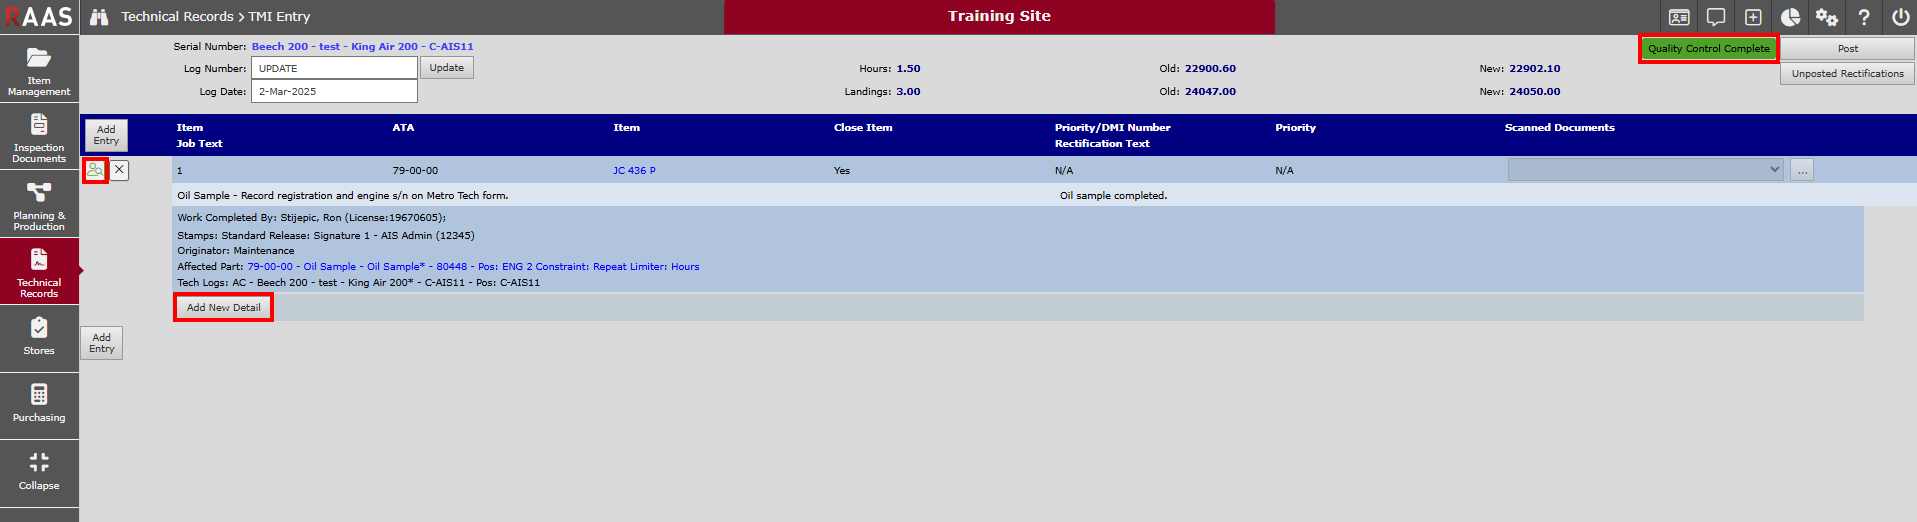
If required, the next step will be to add Maintenance Details, which will appear below the TMI Maintenance Entry by clicking Add New Detail.